good food

Sweet Potato Veggie Tacos (Vegan/Gluten-Free/Paleo) by emily penn

C4EE19C1-9F14-496E-9267-B257FC05A4BE.JPG

I love tacos in all forms, but I especially love a taco that’s chock full of veggies. Over the years I’ve come up with many renditions and ways to incorporate veggies into tacos, but I think using sweet potato as the main star is my favorite way.

The shredded sweet potatoes take on a super-satisfying texture and have a little crispiness and smokiness that make them especially good. I personally love adding a little cabbage slaw to my tacos for a fresh crunch, but you could easily substitute shredded romaine or another crunchy green of your choice. And then you pile on all the good stuff - avocado or guacamole, salsa, (dairy-free) sour cream, pickled red onions, cilantro, etc - the sky’s the limit.

I’ve never been a big fan of meat substitutes - they’re often super processed and full of inflammatory ingredients. I prefer to incorporate more vegetables and work with what Mama Nature gives us. This recipe is a perfect way to get more veggies, make eating plant-based even more delicious or just spice up your normal taco routine. Enjoy!

Sweet Potato Veggie Tacos

serves 2 very hungry people or 3-4 less hungry people / total time 30ish minutes

97FFF0EB-FE68-4D4D-AC05-AC3ECD3307C5.jpg

sweet potato filling
4 tbsp avocado oil
1 onion, sliced thinly
1 red bell pepper, cut into strips
½ tsp good salt
1 large or 2 medium sweet potatoes, shredded
1 tbsp chili powder
½ tbsp cumin
1 tsp oregano
1 tsp garlic powder

cabbage slaw*
½ small cabbage
juice of one lime
2 tbsp chopped cilantro

taco fixings
your favorite taco tortillas/shells (I love Siete Foods)
avocado or guacamole
sour cream of your choice
raw or pickled red onion
salsa
cilantro
lime

A4265BF6-91FC-478E-917A-365A1050A4DA.JPG

directions

  1. Add 2 tbsp of the avocado oil into a large skillet over medium heat. Once the oil is warm add the onions, peppers and salt to the pan. Let them cook for about 10-15 minutes, until they soften and start to brown. If they’re browning too quickly, reduce the heat. Add a splash of water if they start to stick.

  2. In the meantime, get your sweet potato shredded. You can use a regular cheese grater or box grater - just make sure the shreds are medium-sized, not fine (or it’s going to be really labor intensive). You could also use a food processor attachment.

  3. Once the onions and peppers are cooked transfer them to a bowl and set aside. Add the remaining 2 tbsp of avocado oil to the pan and then the shredded sweet potato and all the spices. Stir until the spices are evenly coating the sweet potato. Cook for 10-15 minutes total, adding 1/4 cup of water halfway through to steam them a little bit, and stirring every couple minutes. They’re done when they’re soft with a few crispy parts and they start sticking to the pan.

  4. While your sweet potatoes are cooking, make your slaw and prepare your toppings. To make the cabbage slaw, slice the cabbage into very thin strips (or use a mandoline) and toss with the lime juice and cilantro.

  5. When the sweet potatoes are done cooking reduce the heat to low and add the pepper/onion mixture back in.

  6. Now the fun part - assemble your tacos! There’s no wrong way to do this so have fun with it and make your tacos your own! Enjoy.

* If you’re not making the cabbage slaw you can substitute romaine or another crunchy green of your choice.

Creamy Spring Pasta (Dairy-Free) by emily penn

263D1267-F39A-4230-AF33-1988941F5F38.jpg

People really hate me when I say this: I’m not a big pasta person. I never really have been. Generally speaking, it just doesn’t do it for me.

But I was recently reminded of a recipe that I grew up with when my mom requested it for her birthday dinner. It felt nostalgic and also like a nod to the Spring that’s desperately trying to come through.

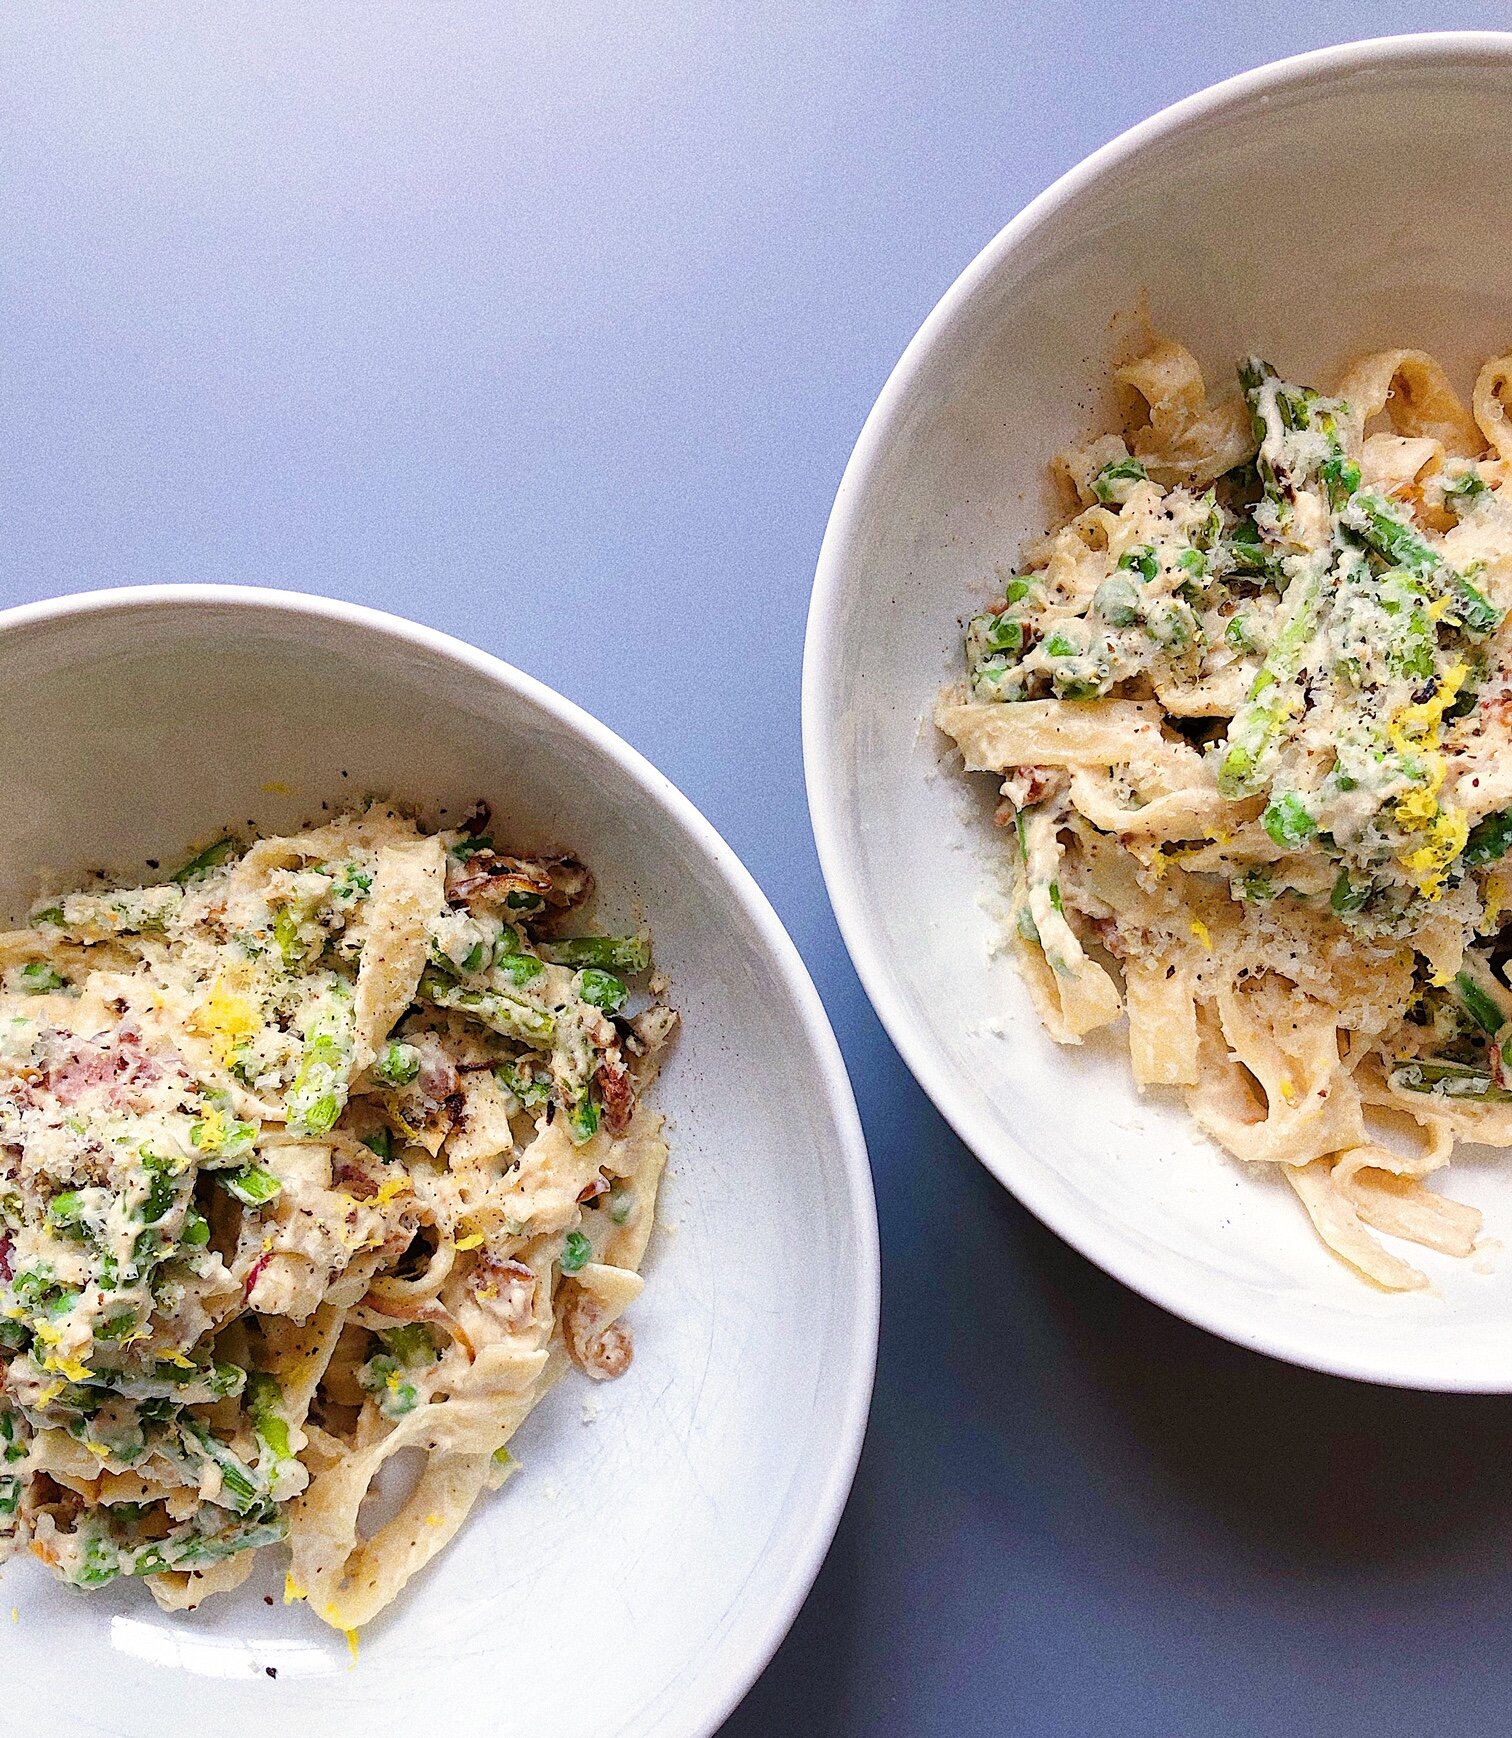
Instead of the half and half and/or heavy cream that’s typically used in a dish like this, I opted for cashew cream which provides the same rich, luscious mouth experience (I would argue, even more) than its dairy counterpart.

I also recently discovered a really delicious gluten-free pasta that’s made fresh and I have to say, that made the idea of pasta more appealing for me. It has simple ingredients and a really great texture. It’s made in Wisconsin and looks like it’s currently only available in the Midwest, so if you can find it I highly suggest it!

Typically, you’d garnish this dish with fresh Parmesan. I opted to grate macadamia nuts on top, but you could also use Brazil nuts. A microplane or zester works best here. I’ve also used this dairy-free Parmesan recipe before and that would work wonderfully.

This dish is heavy on the vegetables, full of healthy satiating fats from the cashews and overall provides a comforting, bright dish that will help you welcome Spring into your kitchen. Enjoy!


Creamy Spring Pasta

serves 4 / total time 30 minutes

cashew cream sauce
1.5 cups raw cashews, soaked overnight*
1 cup water
1 clove of garlic
Juice + zest of 1 lemon
½ tsp salt
A few grinds of pepper

pasta ingredients
6 strips of applewood smoked bacon, chopped**
3 shallots (or ½ red onion), thinly sliced
1 clove of garlic, minced
2-3 cups asparagus, chopped, approximately 1 lb
1 cup fresh or frozen peas
9 oz your favorite pasta

garnish
Fresh lemon zest
Black Pepper
Micro-planed brazil or macadamia nuts
Nutritional Yeast

directions

  1. Get a pot of water for your pasta going on the stove.

  2. First, make your cashew cream sauce. Add everything to a high-speed blender and blend on high for 1 minute, scarping down sides as necessary. Set aside.

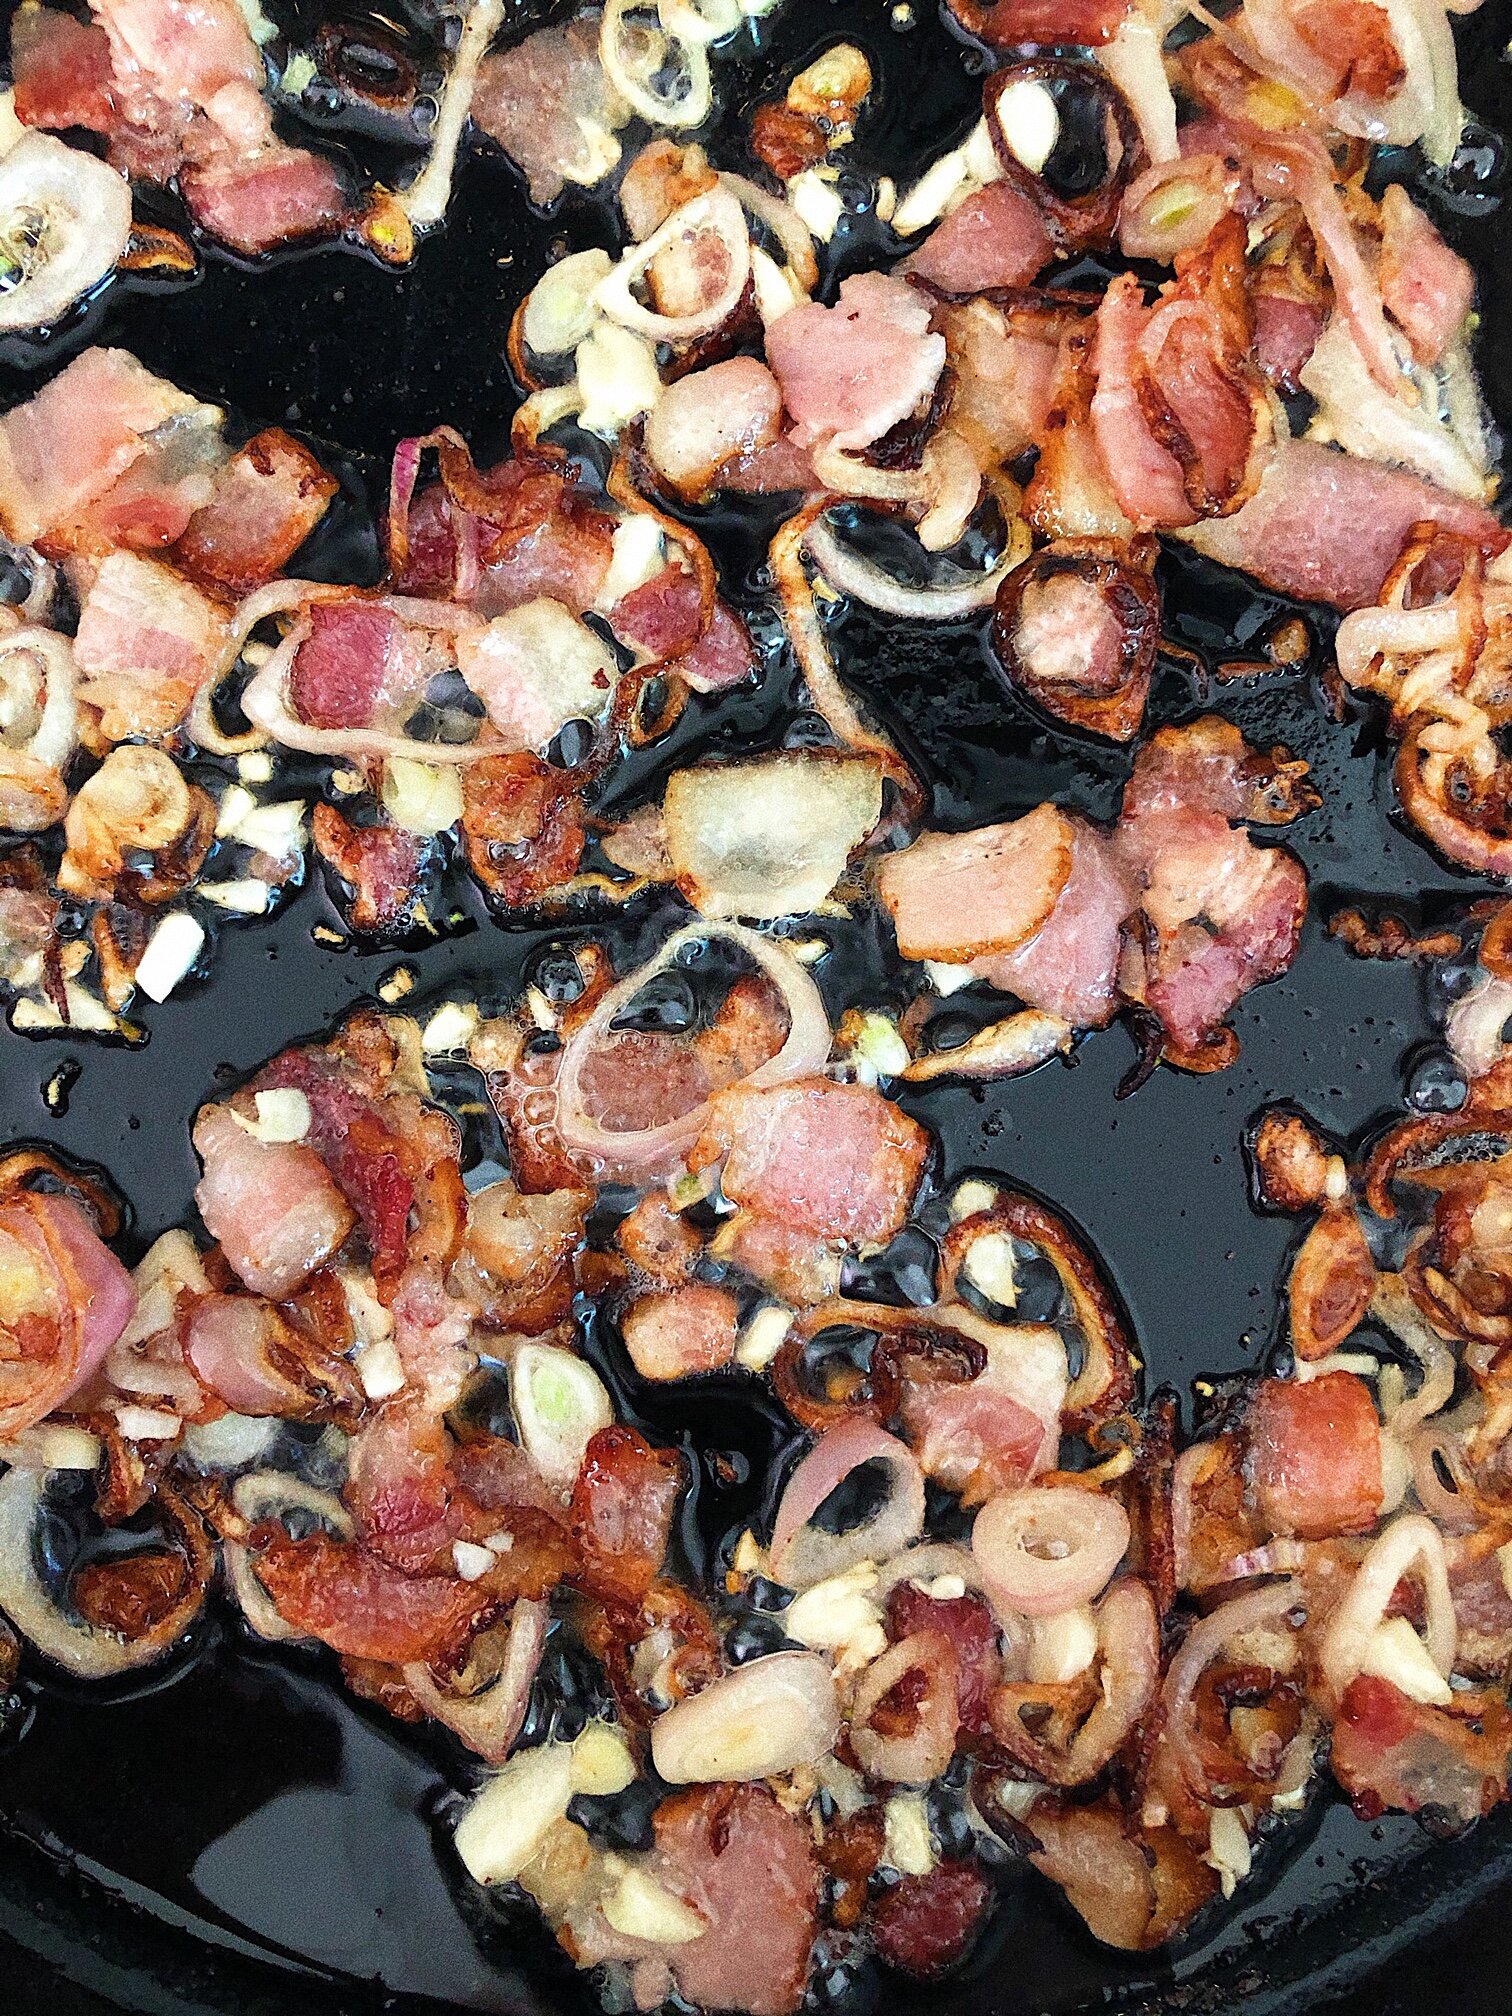
  3. In a large skillet over medium heat, add the bacon and shallots. Cook for 5-7 minutes until they’re both starting to get brown and crispy. Add the garlic for the last minute or so of cooking. Transfer to a bowl and set aside.

  4. In the same skillet, add the asparagus and turn up the heat slightly. Sauté your asparagus for about 3-5 minutes, until it turns bright green. Add the peas and cook for an additional 2-3 minutes, until they turn bright green as well.

  5. In the meantime, you may notice your pasta water boiling. Go ahead and cook your pasta according to the package instructions, drain and set aside.

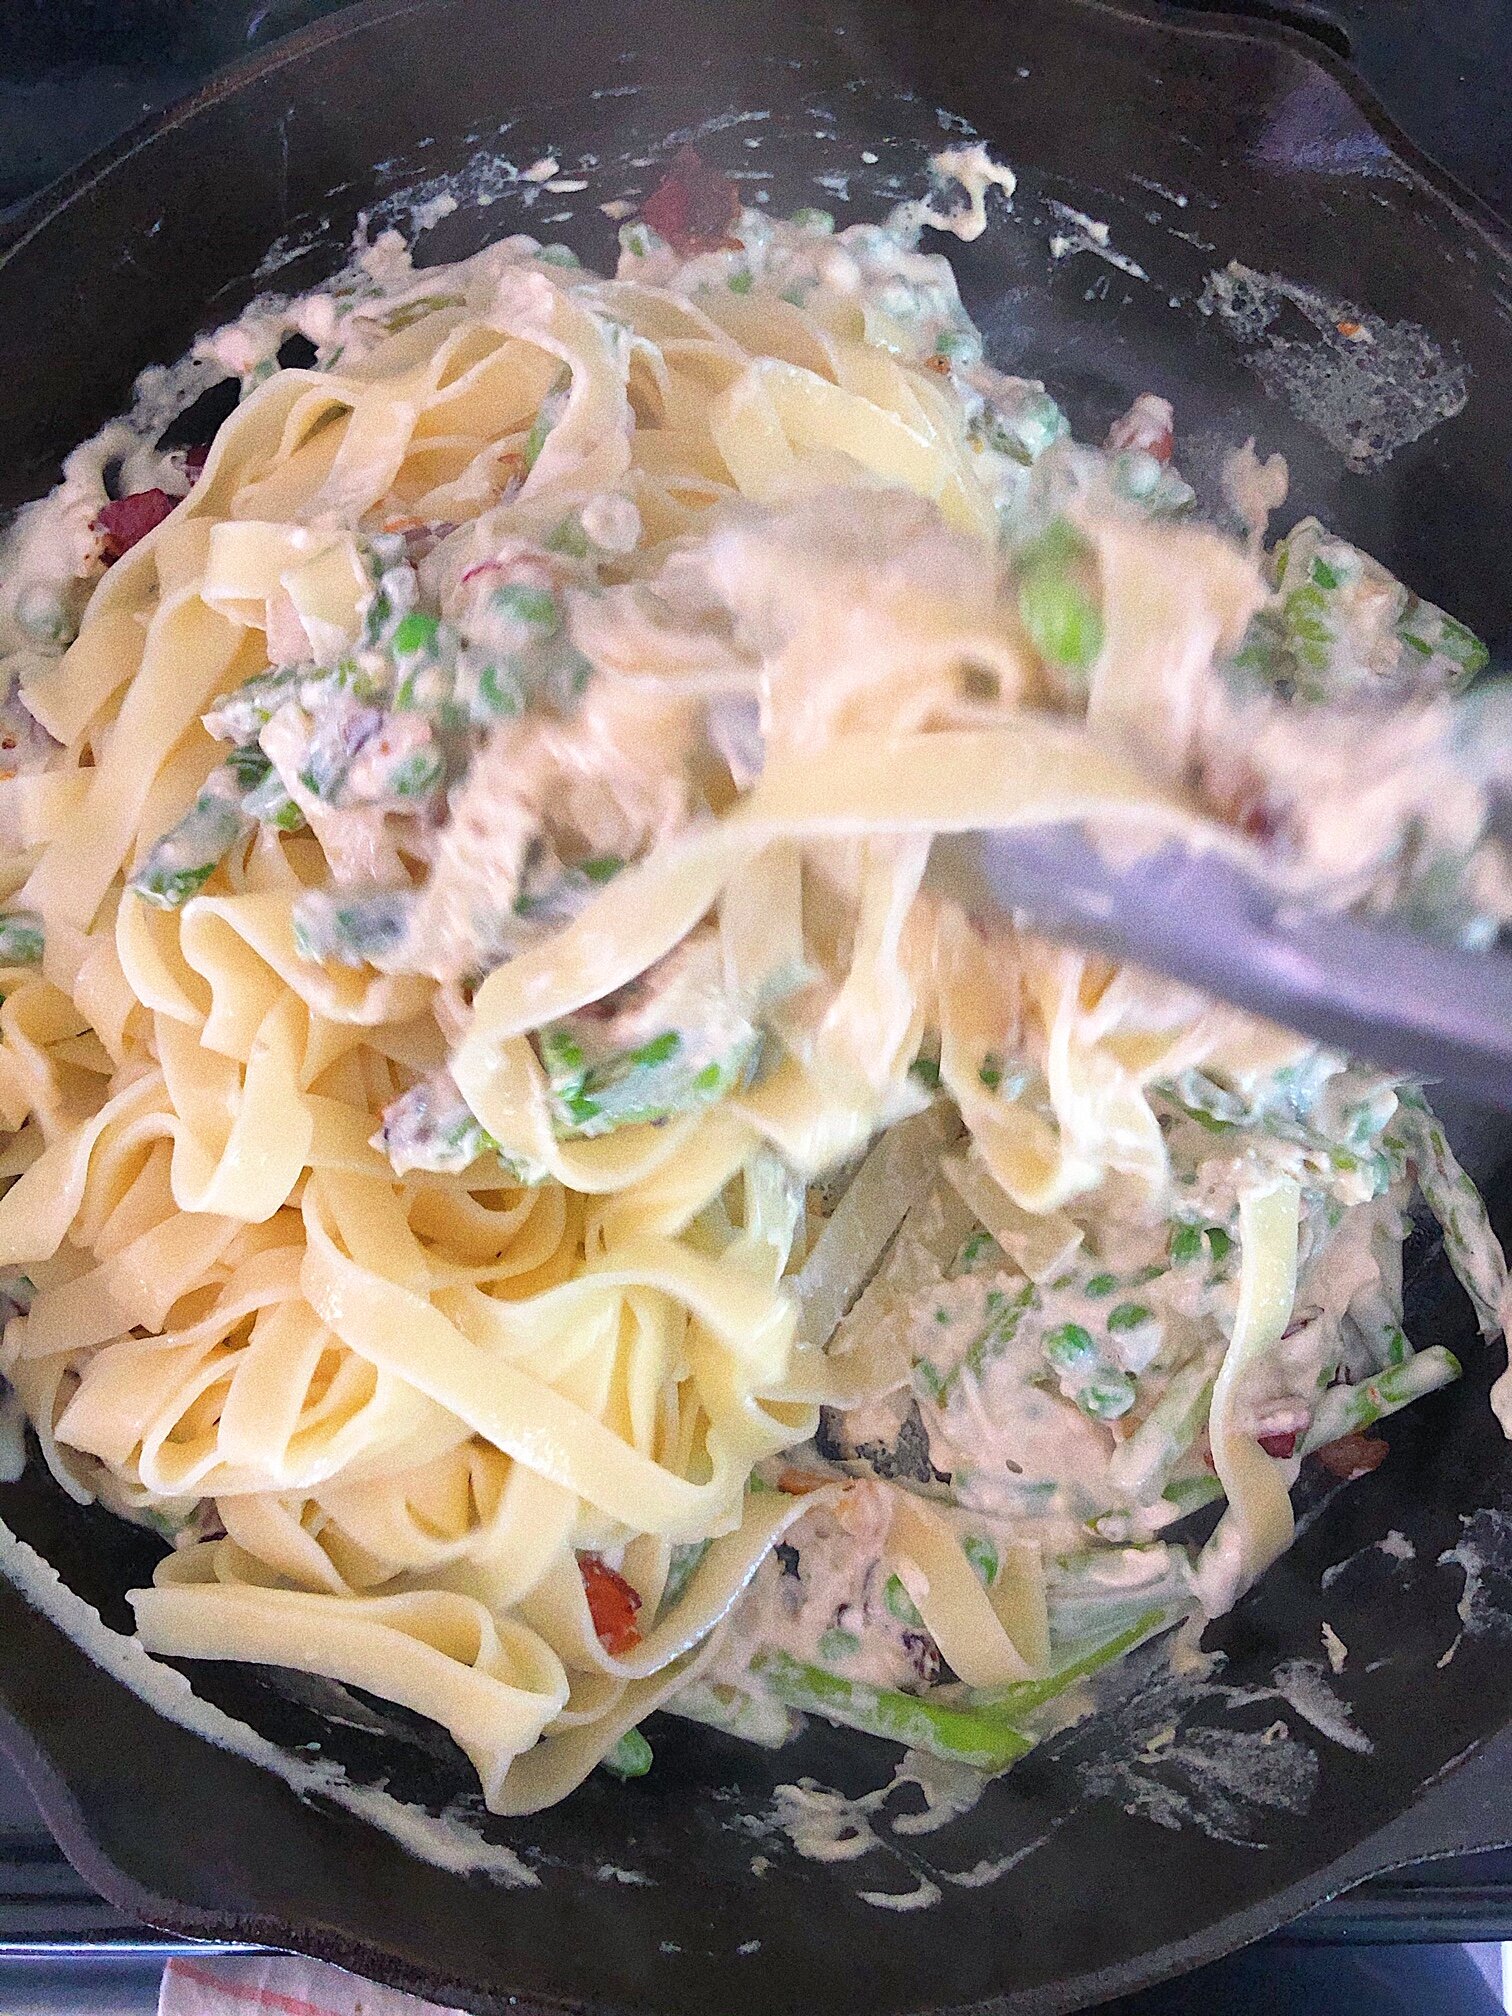
  6. Once the asparagus and peas are done cooking, turn the heat to low and add the cashew cream, the bacon/shallots and the pasta to the skillet. Stir the pasta mixture evenly, distributing the cream sauce to make sure everything is coated. If the cashew sauce gets too thick as it sits, add a few splashes of water until it's creamy again.

  7. Divide into bowls and garnish with a little fresh lemon zest, your “parm” of choice and some fresh black pepper. Enjoy!

    * If you forget to soak overnight, cover the cashews in boiling water and allow to sit for at least 10 minutes.
    ** You can use regular bacon here, but the smoked flavor really makes this good.

Loaded Burger Fries by emily penn

JPEG image-DF10E8E935F4-3.jpeg

Sounds like a meal that would be inherently unhealthy, right? But guess what?! It’s not!

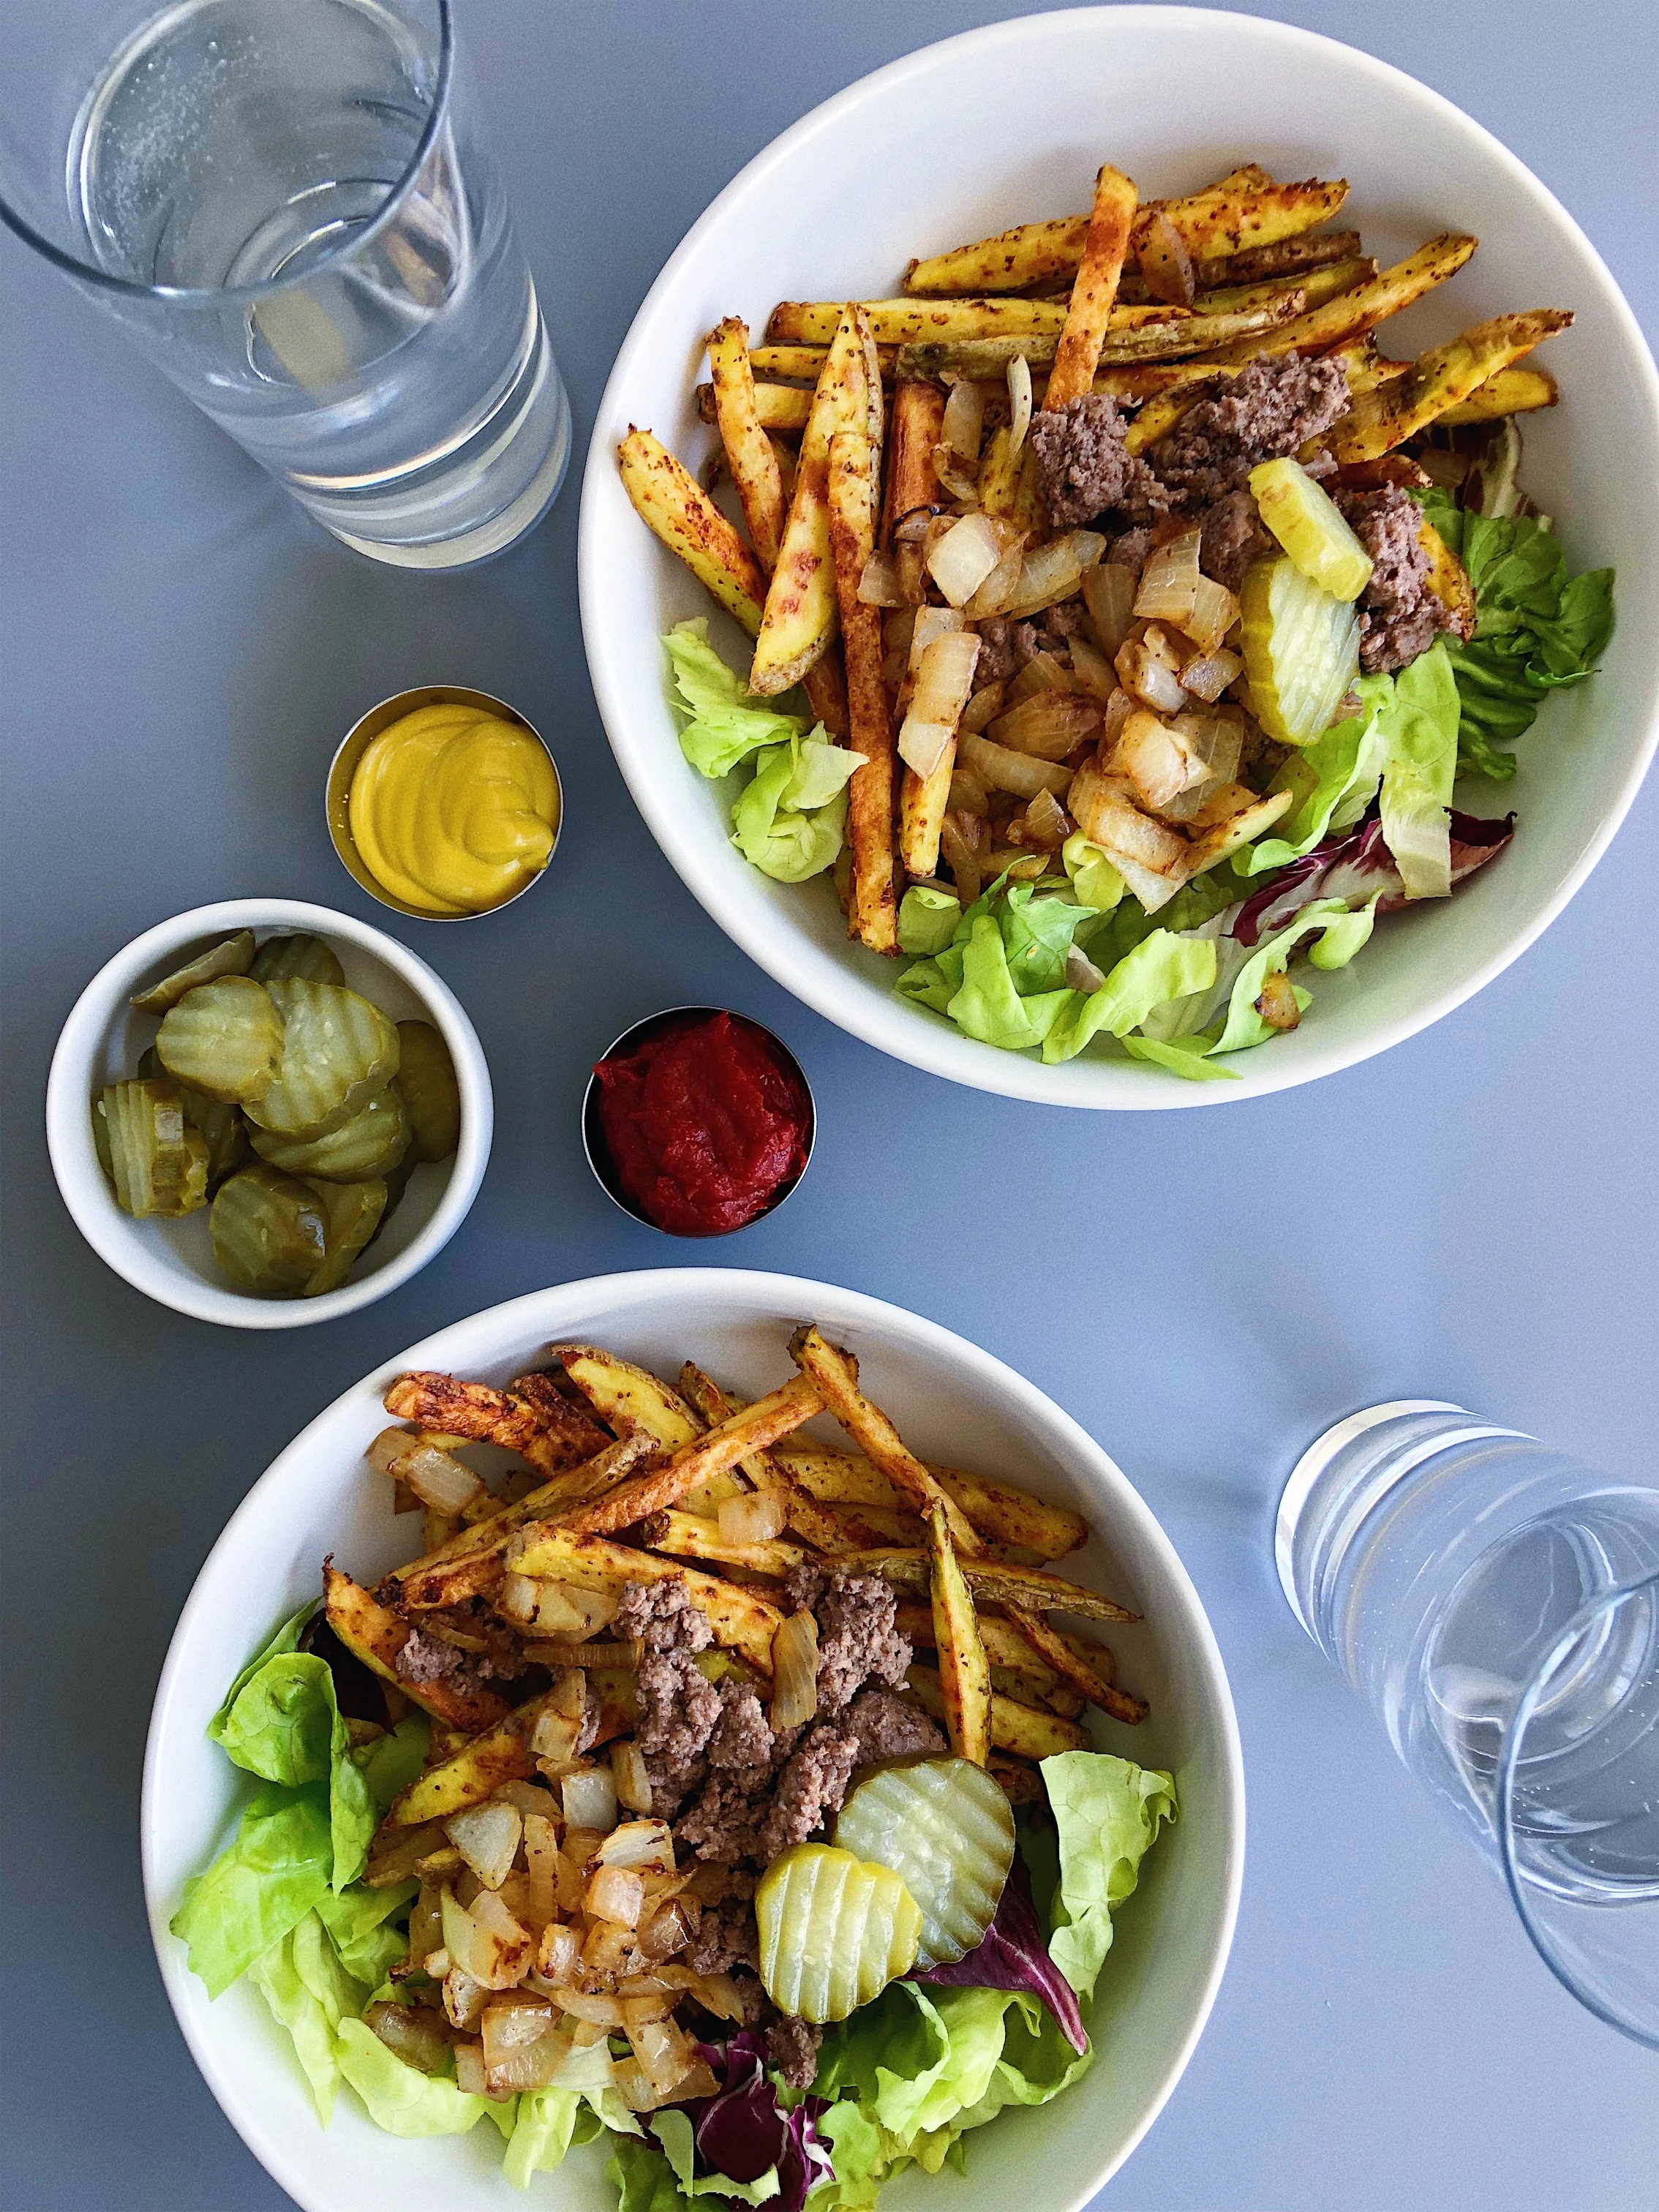
What I want to highlight in this recipe is this: QUALITY OF INGREDIENTS MATTERS. Can you eat fries that are healthy? Absolutely. And can you make a burger that’s nourishing and nutrient-dense? Heck yes you can! Here’s the deal:

Fries that you order at a restaurant are likely not organic and are most definitely fried in unhealthy, inflammatory oils. On the other hand - if you make fries at home with organic potatoes and roast them in the oven in a healthy oil like avocado or olive - this has a totally different effect on the cells in your body. The fries go from inflammatory to nourishing. And despite the white potato fear, they do have valuable nutrients.

JPEG image-DF10E8E935F4-1.jpeg

Conventional beef is raised with antibiotics and growth hormones and fed a grain-based diet - which is not what cows are meant to be eating. Organically raised, grass-fed cows are allowed to roam a pasture and eat grass (what they’re meant to do) and are raised without antibiotics. The result is a totally different nutritional composition in the meat. For example, grass-fed beef has 5 times the omega-3s (an anti-inflammatory fatty acid) and contains a compound known as CLA (conjugated linoleic acid) which is anti-inflammatory, boosts the immune system, supports fat burning and even strengthens bones! Grass-fed beef is also richer in vitamin A and vitamin E and tends to be richer in antioxidants (1).

I think it’s interesting to note that when I was younger (before I was vegan) I didn’t care for beef very much and often found that it hurt my stomach. After reintroducing meat into my diet after being vegan, I only ate grass-fed beef and woah - what a difference! It has never made my stomach hurt and has felt very nourishing.

In this recipe, I’ve forgone any sort of bun. While delicious, most buns are made with refined white flour and don’t offer a whole lot of nutrition. Instead I’ve opted to serve the beef over the fries and greens to make it more of a “bowl” situation with a nutrient-dense bottom.

Then of course you’ve got chopped onions (raw or grilled - your choice!), pickles, mustard, ketchup and any of your other favorite burger fixings! I’d recommend finding a ketchup with no sugar added or making some of your own at home for max health benefit. I recently made this fermented ketchup that turned out awesome (I skipped the honey).

Feel free to make this totally your own - you could add avocado, bacon or a fried egg to make it even more hearty!

It’s amazing that by just focusing on the quality of ingredients we can turn what sounds like an unhealthy meal into something totally nourishing and good for you!

Loaded Burger Fries

serves 4 / total time 45 minutes

JPEG image-DF10E8E935F4-2.jpeg

ingredients
4 medium sized potatoes (russet or yukon gold), cut into fry shape
3 tbsp avocado or olive oil
1 pound grass-fed ground beef
1 onion, diced - raw or grilled
4 large handfuls of greens (I used butter lettuce)

toppings/condiments
ketchup
mustard
mayo
pickles
avocado
fried egg

directions

  1. Preheat oven to 400. Toss potatoes in 2 tbsp of the oil and season with salt and pepper. I also love seasoning my fries with garlic powder, onion powder, smoked paprika, and my favorite/weirdest one - celery seed (just trust me). Feel free to use some of these or none at all. Divide fries onto two sheet pans. Place in oven for a total of 30-40 minutes, checking on them after 20 minutes and giving them a stir and switching their position on the racks.

  2. While the fries are roasting, heat the remaining tablespoon of oil on a large skillet on the stove. Add the ground beef and cook until no longer pink, stirring every minute or so. It should take about 10 minutes.

  3. If you’re serving your onions raw, skip this step. If you’re grilling your onions, then transfer beef to a bowl and set aside. In the same pan, cook onions for about 10 minutes until golden and translucent. Season with a little salt. If onions start sticking, add a splash of oil.

  4. Push onions to one half of the pan and add beef to the other half, turn heat to low to keep warm until the fries are done.

  5. Once the fries are golden and crispy, remove from oven. Get your serving bowls ready. Add a large handful of greens to each bowl and top with a quarter of the fries, a quarter of the beef, and a quarter of the onions.

  6. Top with desired toppings/condiments and enjoy!